



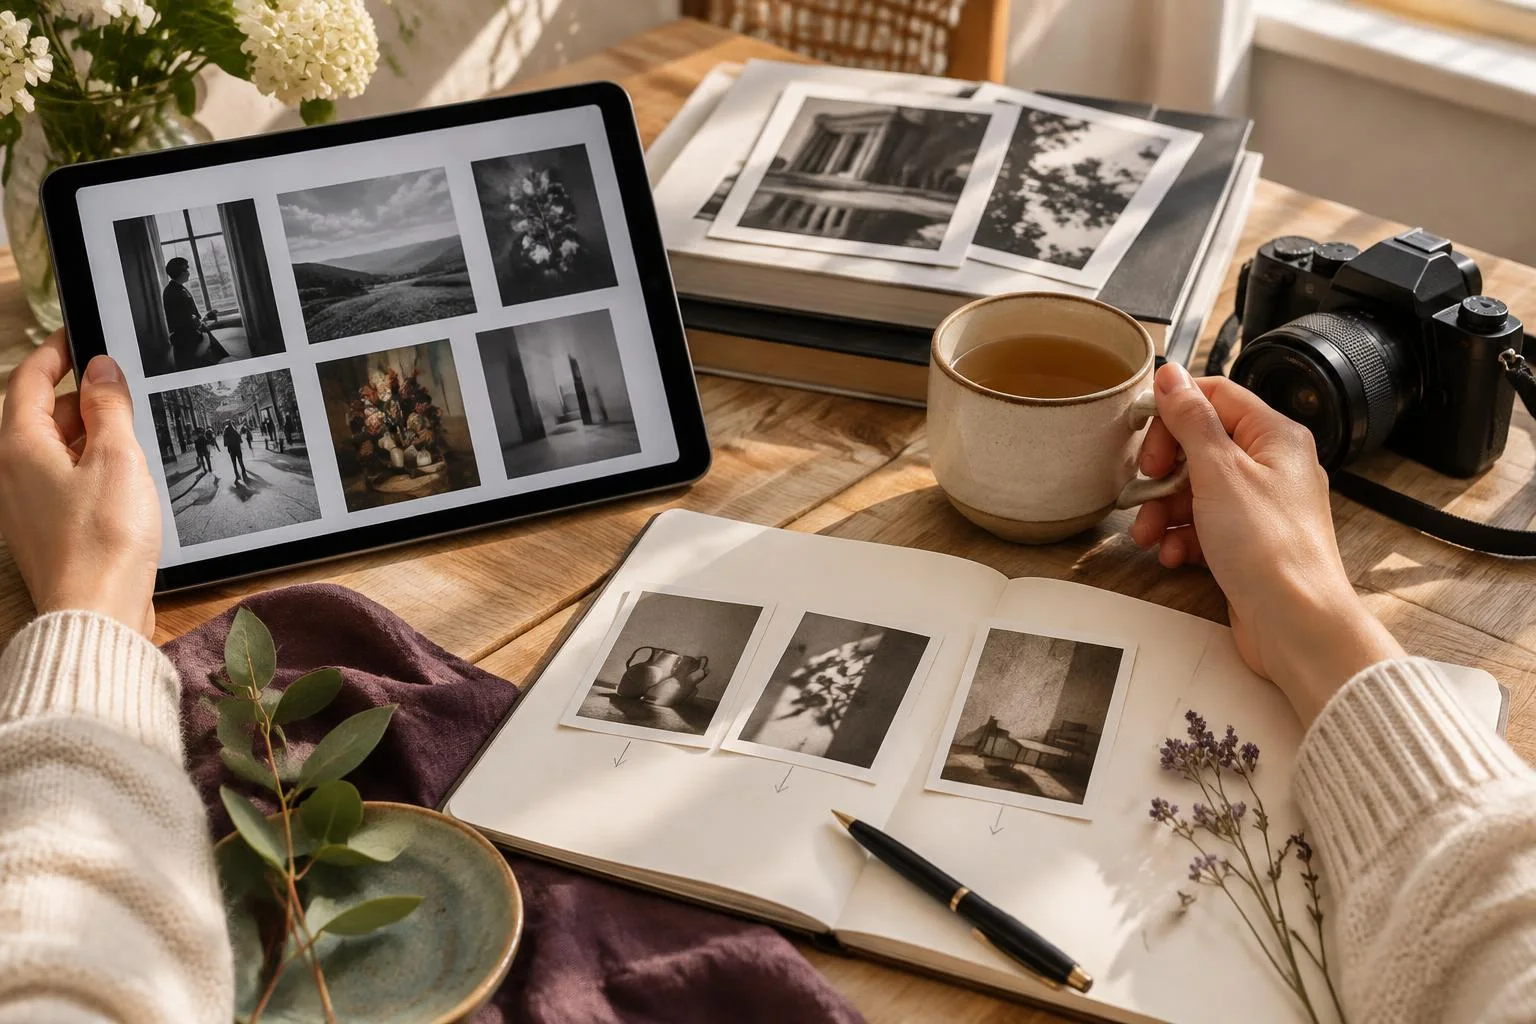
Start by looking, not by equipping yourself
A photography hobby can begin with a question, not a new camera. Before comparing devices or accessories, it’s worth discovering what kinds of images appeal to you and what you’d like to try when taking photographs. Looking closely turns casual browsing into a concrete activity: observe, choose a detail, and explore the possibilities it opens up.
The Victoria and Albert Museum (V&A) brings together a photography collection and offers resources for exploring images and techniques, as well as information about its Photography Centre. The collection page includes content about colour photography and links to the Royal Photographic Society collection. These resources document the museum’s activities and holdings; the practical suggestions in this article are editorial ideas for looking and experimenting on your own, not official V&A exercises.
The distinction matters. The collection can offer references and questions, but it doesn’t dictate which device you need or what your work should look like. Instead of turning every image you admire into a reason to buy something, use it as an opportunity to clarify what interests you: the light, the composition, the colour, or the way objects relate to one another within the frame.
Choose a small series to observe
You don’t need to go through all the available content to get started. Pick a few images that catch your attention and look at them one at a time. Your selection can be intuitive: one work appeals to you because of its tones, another because of the presence of people, and a third because of how it arranges space. The purpose isn’t to cover an era or achieve an exhaustive reading, but to give your curiosity a manageable starting point.
For each image, first note a specific impression, avoiding general evaluations such as “I like it” on its own. You could write, “the figure is close to the edge” or “the objects seem separated by an empty area”. Then identify which part you’d like to look at more carefully. This helps distinguish between admiring a photograph and recognising a visual choice you could explore in your own image.
As an editorial example, imagine that a photograph interests you because a person appears small within a large space. Instead of concluding that you need a particular lens, frame a verifiable observation you can explore in your own situation: how much space remains around a person if you take the photo from farther away. The collection image inspires the question, but your experiment is independent and isn’t intended to reproduce the work.
Compare visual choices without turning them into rules
When looking at a series, you can compare elements without treating them as formulas that always produce the same result. Framing lets you notice what falls inside and outside the image; the direction of the light draws your attention to which areas receive more emphasis; the presence of people highlights how the reading of a scene changes; and the relationship between objects brings out the distances and associations you perceive.
A simple table can help you organise these observations. Its criteria are questions to guide your looking, not quality ratings or official museum categories.
| Aspect you can observe | Practical question | Idea for your own experiment |
|---|---|---|
| Framing | Which elements occupy the centre, and which are close to the edges? | Change where you stand to photograph an object. |
| Light | Which side does the light seem to come from, and which areas does it highlight? | Observe the same object under different available lighting conditions. |
| People | What changes in the image when a person appears? | Decide whether a scene of your own is clearer with someone in it or without people. |
| Relationship between objects | Which objects are close together, apart, or partly hidden? | Rearrange everyday items before photographing them. |
| Colour | Which colours catch your attention first? | Compare how you perceive the same scene when the light or background changes. |
These questions don’t assume that you can know for certain how an image was made just by seeing it online. They’re for describing what you observe and generating a practical idea, not for attributing a technical process to the work that the information consulted doesn’t confirm.
Save references along with their context
When you find an image you’d like to look at again, save the link and consult its record. Noting the authorship, date, and context provided in the work’s information makes your notebook more useful than a collection of unidentified screenshots. It also lets you clearly distinguish between the museum reference and the photographs you take yourself.
The fact that an image can be viewed online doesn’t mean it’s authorised for reproduction in another publication. For this exercise, you don’t need to copy it, download it, or include it in a shared project: simply keep the link and make your own notes. If you later want to publish an image from the museum, you’ll need to check the rights information and permissions that apply to that work. This precaution concerns reusing the image, not looking at it for inspiration.
Turn an observation into your own question
After looking, choose a specific question you can explore with what you already have to hand. A good question narrows the experiment without making it an obligation. For example: “What changes if I photograph the same object from three different heights?” You could also ask whether a composition feels more interesting to you with the object on its own or accompanied by other elements.
Editorial example: if you were drawn to the way a photograph arranges several objects, place everyday things on a surface and take a picture before changing their arrangement. Then move one of the objects and notice what changes for you. You’re not trying to discover a universal rule; you’re comparing choices within a simple situation. If you’re no longer interested in the question, you can reframe it or end the exercise.
Writing down the question before taking the photos has a practical advantage: it reminds you what you were exploring. Without that note, you might end up comparing images based on aspects that weren’t your initial focus. There’s no need to avoid improvisation; you can record an initial idea and add another if something unexpected sparks your curiosity.
Experiment with the device you have
You can carry out the experiment with the device you already have. The suggestion doesn’t assume that a particular camera is necessary or promise that a phone or another device will produce a specific result. Its aim is to explore a visual choice using the means available, not to establish equivalence between equipment or reproduce historical processes seen in the collection.
Take the pictures somewhere you can access, using objects or scenes you’re able to photograph. If another person appears, consider whether they agree to being photographed and to any subsequent use of the image. If the exercise involves someone else’s space, take the conditions of the place into account before taking photographs or sharing them. You don’t have to publish anything: doing the experiment just for yourself is also a complete way to practise.
Editorial example: to explore height, choose an object and take several photographs from different positions, keeping the question the same. When reviewing them, note which one interests you most and why: perhaps the object’s shape changes within the frame, or its relationship to the background shifts. That response is a personal observation about your images, not an artistic rating or a conclusion about how a V&A work was taken.
A useful comparison before buying
If your experiment leaves you wanting to keep exploring, separate what you want to do from what you imagine you could buy. A new question may call for learning to observe a condition you already have, finding a different location, or setting aside another session to compare. Buying something doesn’t have to be the default next step.
| What you want to explore | What you can try first | A practical sign to keep thinking it through |
|---|---|---|
| Different framing | Change your position or your distance from the subject. | You’re interested in repeating the comparison with other scenes. |
| Light in a scene | Observe how the scene changes under available conditions. | You can describe which aspect of the light you want to explore further. |
| Composition of objects | Move the objects and compare the images. | You’re interested in controlling the arrangement more deliberately. |
| Photographing people or places | Think about what you want to share and consider the people who appear or manage the space. | You’re clear about the intended use and which permissions might be needed. |
This comparison doesn’t claim that any particular equipment is suitable for a specific purpose, nor does it replace product research. It’s an editorial way to decide whether your curiosity is clearly defined enough to look into options later, without rushing into a purchase just because a photograph impressed you.
Wrap up the experiment with a simple record
When you’re finished, record what you need to be able to pick up where you left off. You can use a paper or digital note with these fields:
- Link to the work that inspired you and any details from its record you want to keep.
- The visual question you chose.
- Three photographic attempts, if that number is useful for organising the activity.
- An observation about what changed between your images.
- Something you’d like to try next, if anything comes to mind.
Three attempts are a practical choice for structuring the exercise, not a validated protocol or a measure of progress. You can do fewer, more, or none if the approach stops being useful. The record doesn’t need to become a perfect archive either: its purpose is to help you remember what you looked at and what you’d like to explore, not to impose a routine.
Checklist for exploring without a shopping list
Before you consider the activity complete, check whether your process has preserved the curiosity that got you started:
- You chose a small selection of images instead of demanding that you go through everything.
- You noted specific observations about framing, light, people, objects, or colour.
- You saved the links and available context so you can identify the references.
- You framed your own question that you can try out with the device you have.
- You kept your photographs separate from the works you consulted and didn’t assume that seeing an image authorises you to reproduce it.
- You considered the people and spaces that might appear if you decide to share the exercise.
- You allowed yourself to change the question, take a break, or leave it there without buying anything or showing the results.
A hobby that can progress at its own pace
Images and resources from the V&A collection can fuel observation; the activity suggested here adds a bridge between looking and making: keeping references, choosing a question, and trying out a visual choice with the means available. That bridge doesn’t require turning a hobby into a purchasing plan or creating a photograph intended for sale or publication.
The most useful outcome may be a new question, a preference you hadn’t identified before, or simply the desire to keep looking. If you feel like continuing, return to the collection, choose another image, and start again with a different curiosity. If you’d rather stop, the exploration already has value as an activity in its own right.